Akash
Akash is a decentralized compute protocol that provides a secure, scalable, and cost-effective way to run and manage compute resources. It allows applications to utilize the Akave O3 decentralized storage endpoints.
Prerequisites
- Akash account
- If you do not already have an Akash account, please create one at Akash
- Akave Cloud Credentials
- If you do not already have these, please create them on Akave Cloud
Setup Guide
To get started with Akave and Akash, make sure you have access to your Akave:
- Access Key ID
- Secret Access Key
- Endpoint URL
As well as a bucket in Akave to store your data. More information on how to create a bucket can be found in the Bucket Management section of these docs.
Akash Configuration
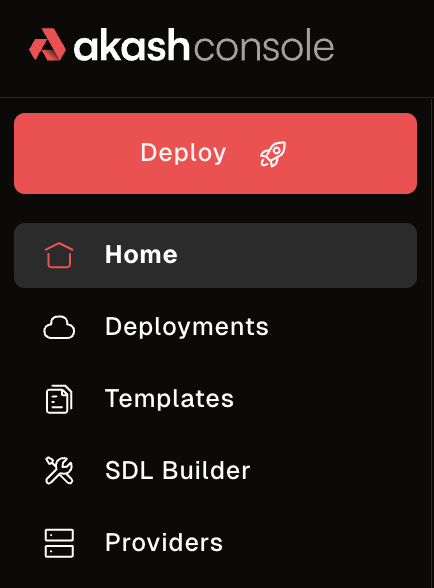
Start by opening the Akash Console at: console.akash.network
Then, click on the “Deploy” button.
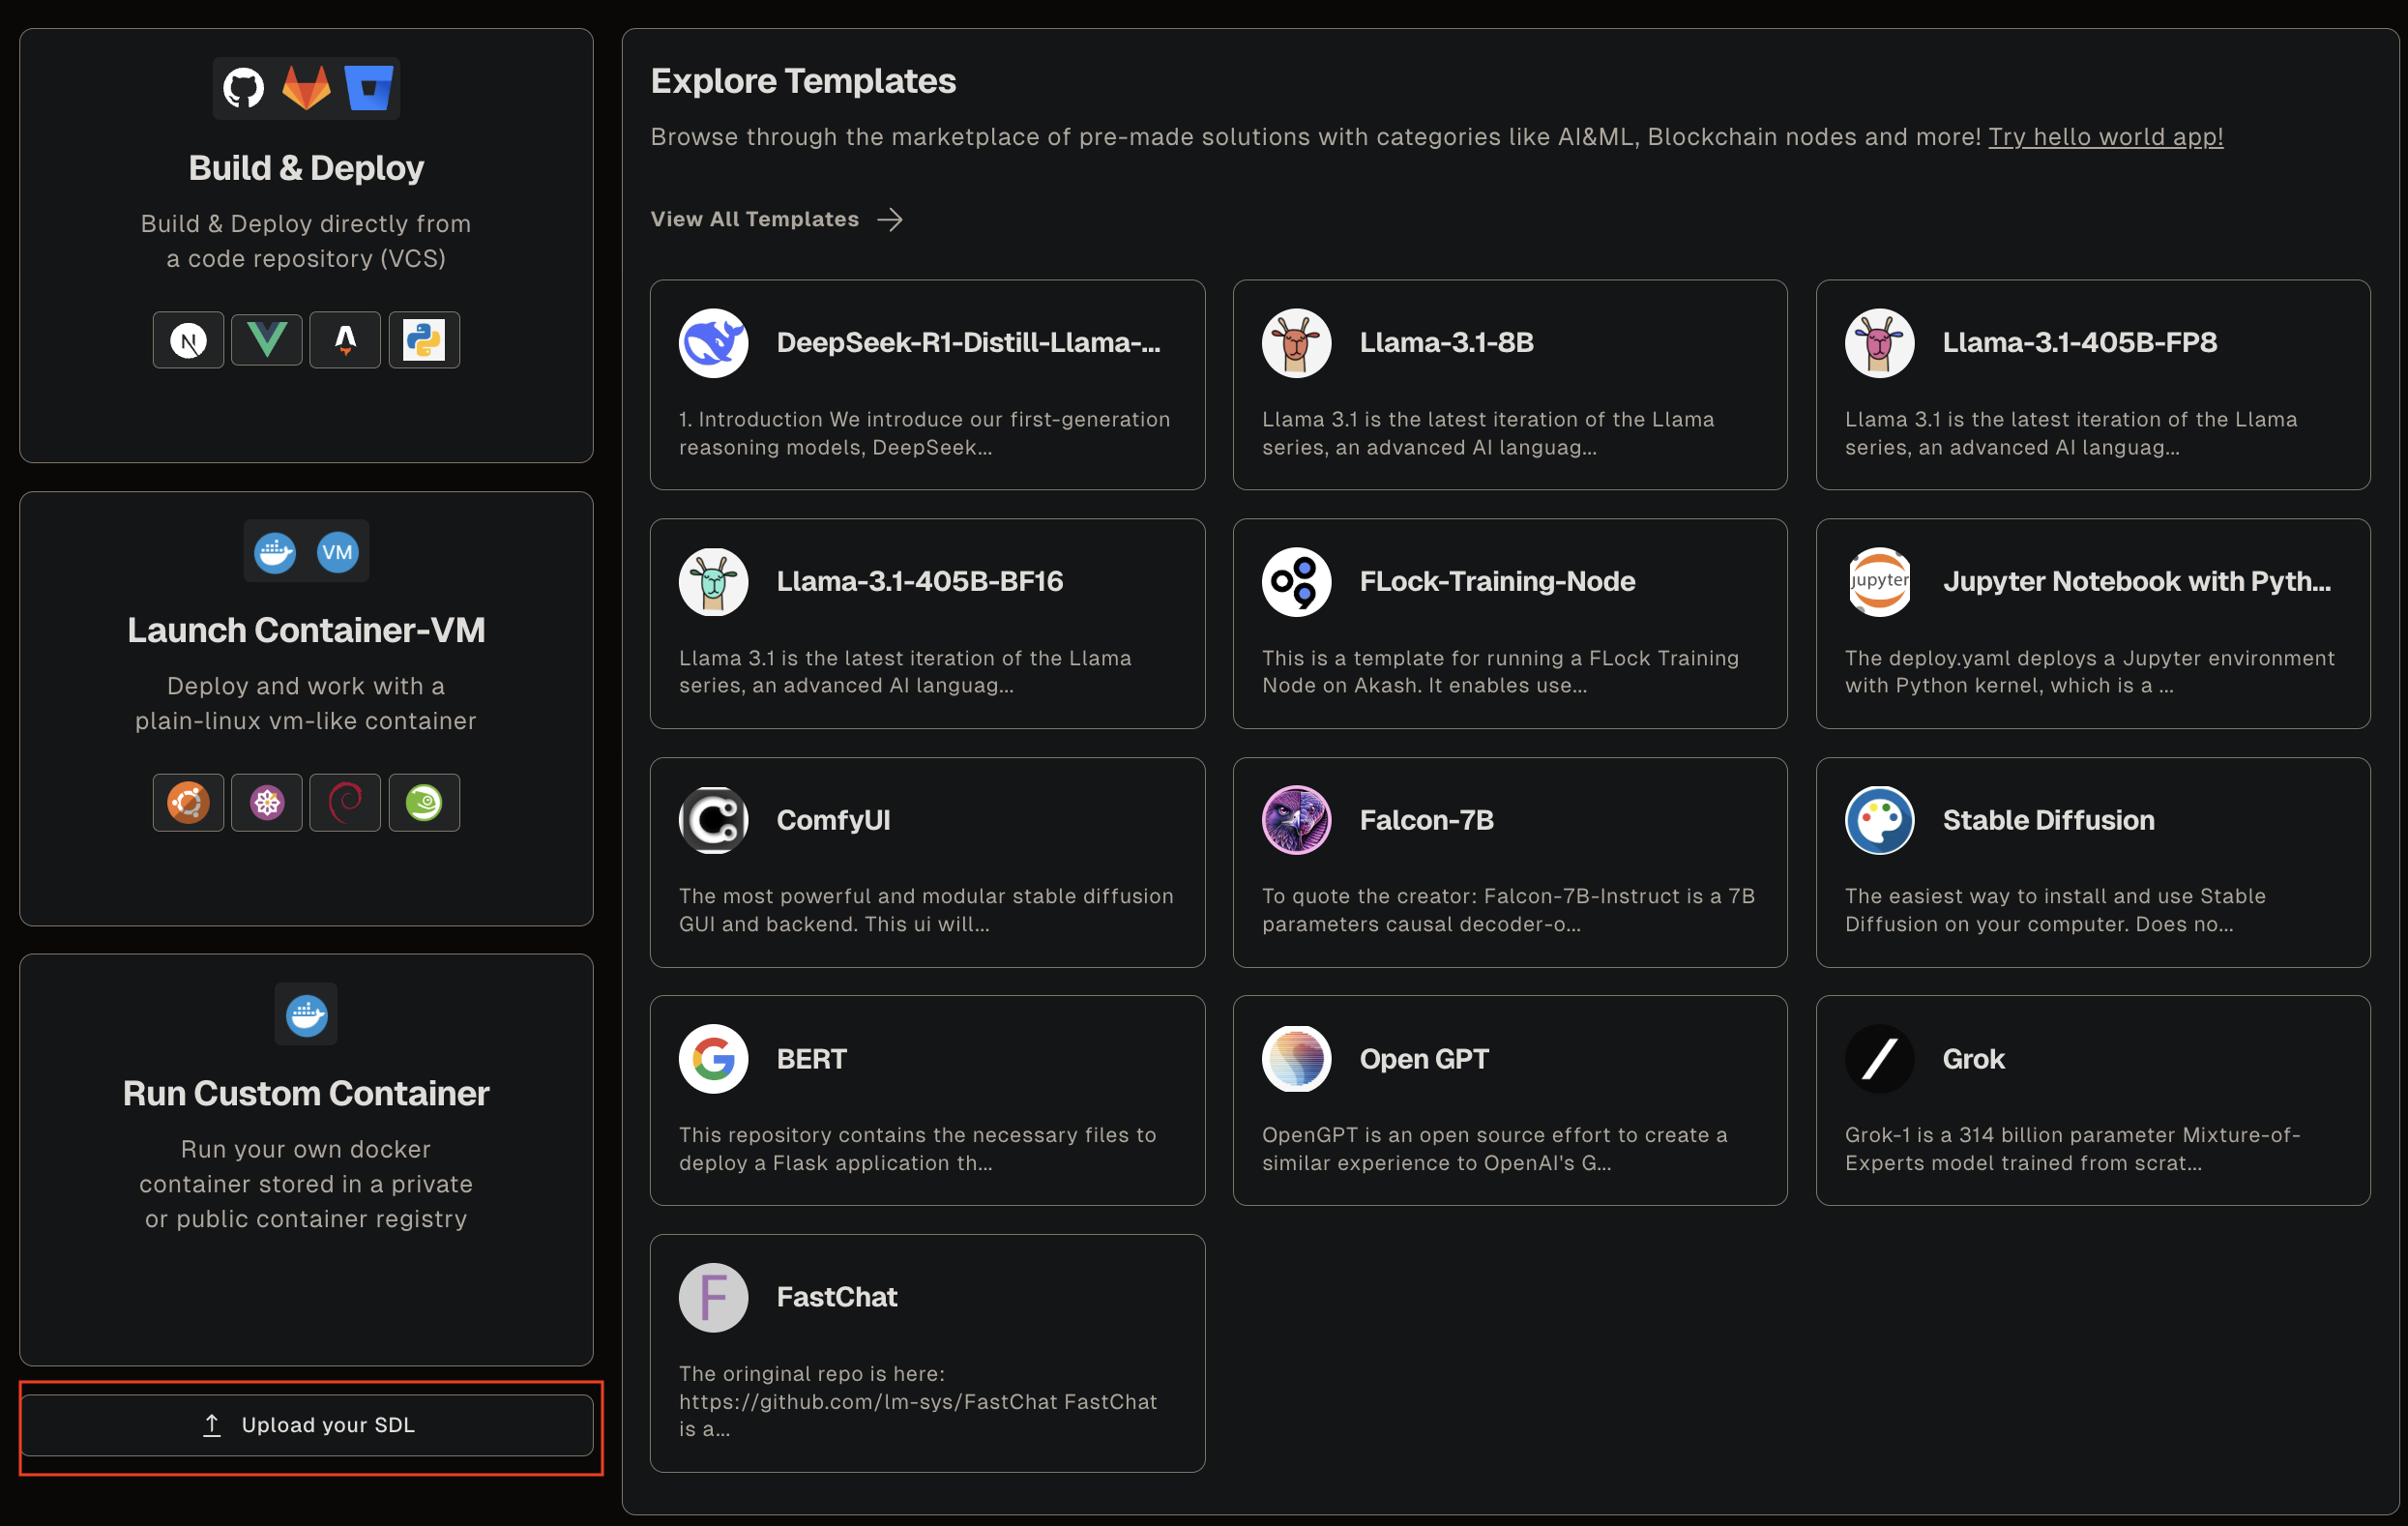
Then from the available options you can select “Upload your SDL” and use the example SDL provided here: akave.yaml
- Replace the
AKAVE_ENDPOINTwith the appropriate Akave Endpoint URL - Replace the
AKAVE_BUCKETwith your Akave Bucket Name - Replace the
AKAVE_ACCESSwith your Akave Access Key ID - Replace the
AKAVE_SECRETwith your Akave Secret Access Key
Note: These are all values in the env section of the SDL, and so won’t be exposed after deployment.
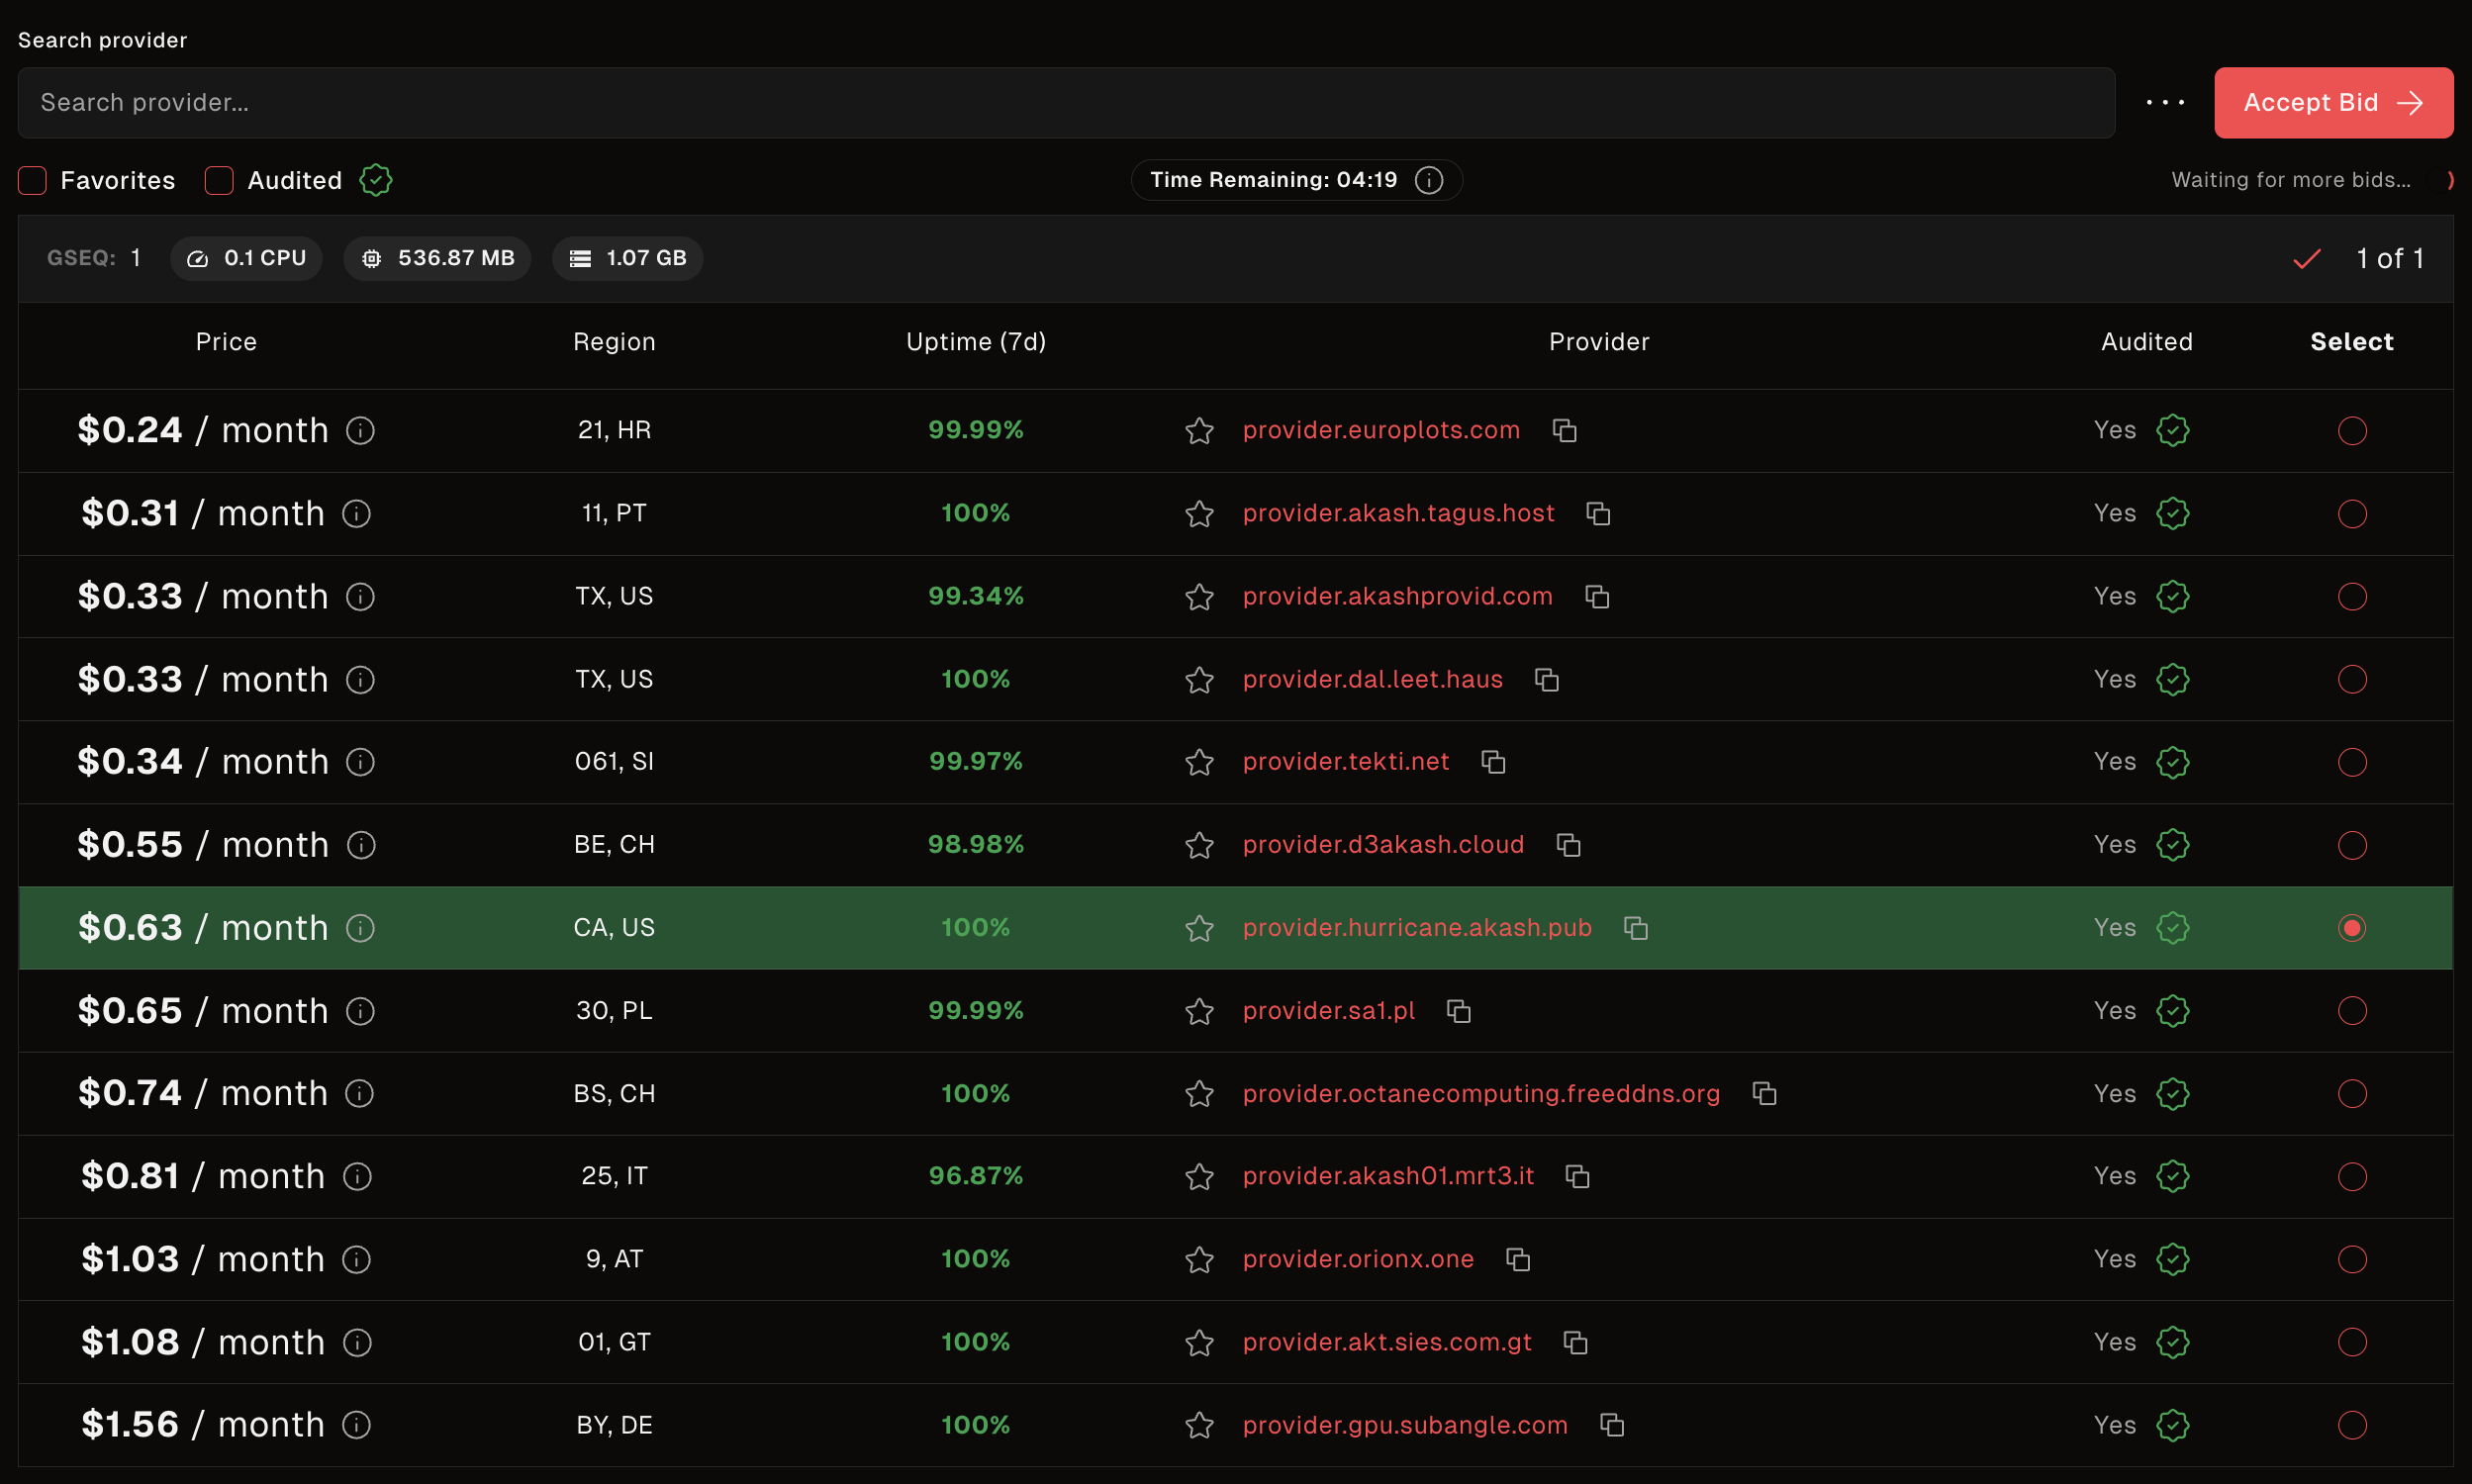
Next, name your deployment, add funds to the Akash escrow account, then select a provider and deploy.

In this example I select the “hurricane” provider from Akash.
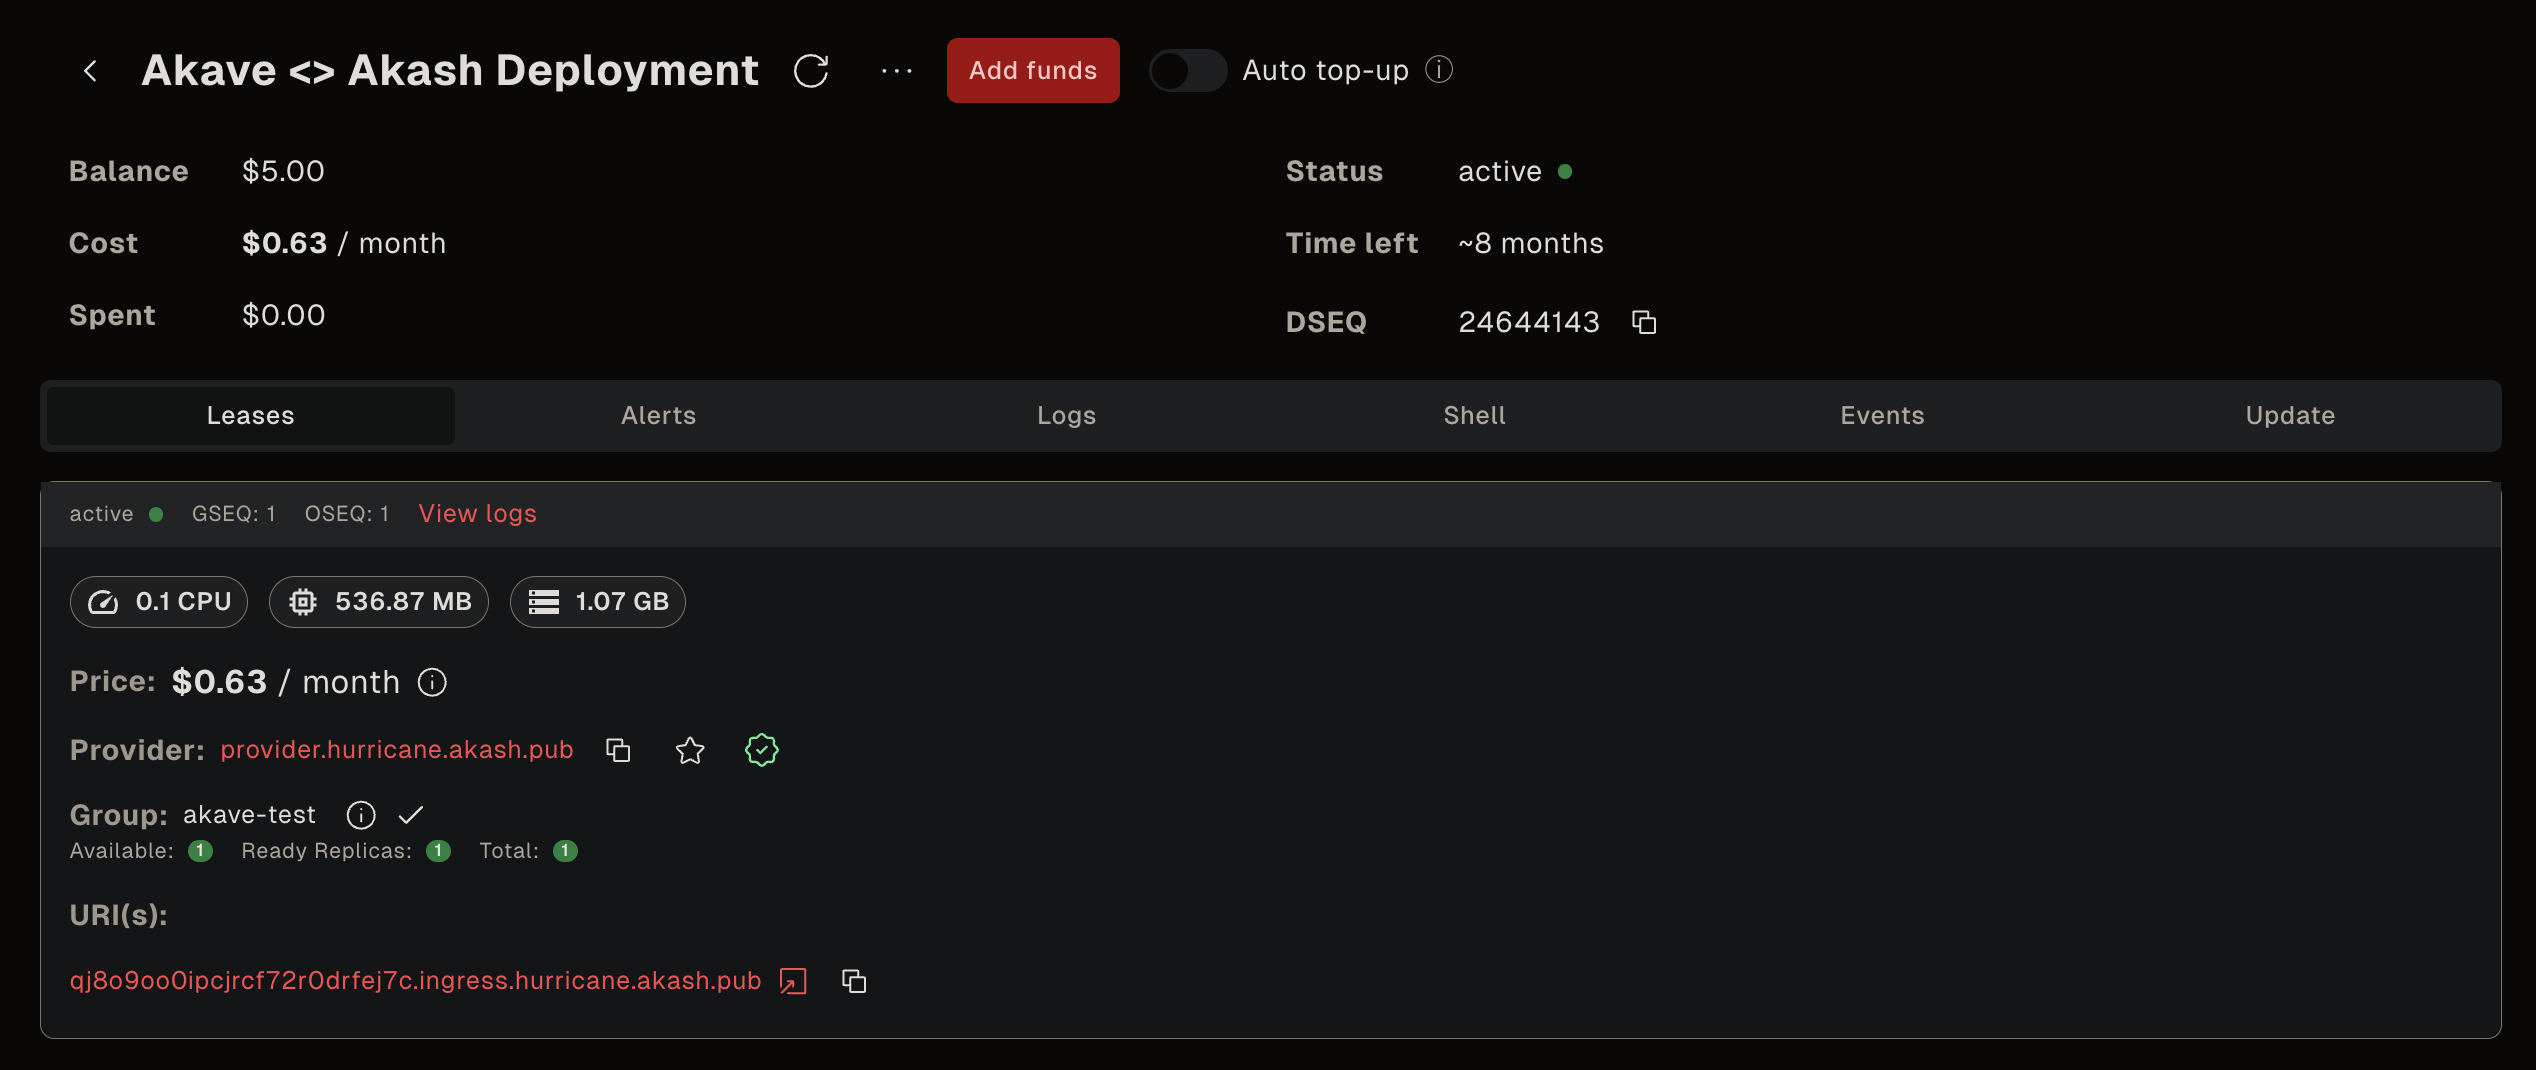
Once deployed you’ll be able to see information on the deployment similar to the one below, which includes a URI to view your deployed service.
Usage
For the example SDL provided above this creates a service that interacts with the Akave O3 endpoint at the URI shown. You can use this URI to see objects uploaded to your Akave bucket, as well as access those objects with pre-signed URLs. The SDL uploads an object to the bucket as part of the deployment process, demonstrating that the integration is working correctly.
You can verify the object was uploaded by checking your Akave bucket using standard object management commands.
This basic deployment demonstrates how to launch an Akash instance which interacts with Akave storage and uses the AWS CLI to:
- Initialize the storage connection
- Upload an object to the bucket
- List objects in the bucket
- Generate pre-signed URLs for objects

To add additional functionality modify the SDL using:
- The O3 section of our docs
- The AWS boto3 library
- The AWS JavaScript library
- Additional AWS compatible libraries and tools depending on your specific use case