Teams
Teams give you a shared workspace in Akave Cloud. The people on a team share the same buckets, access keys, usage data, and billing context, so you can collaborate on data and manage billing together instead of relying on a single account.
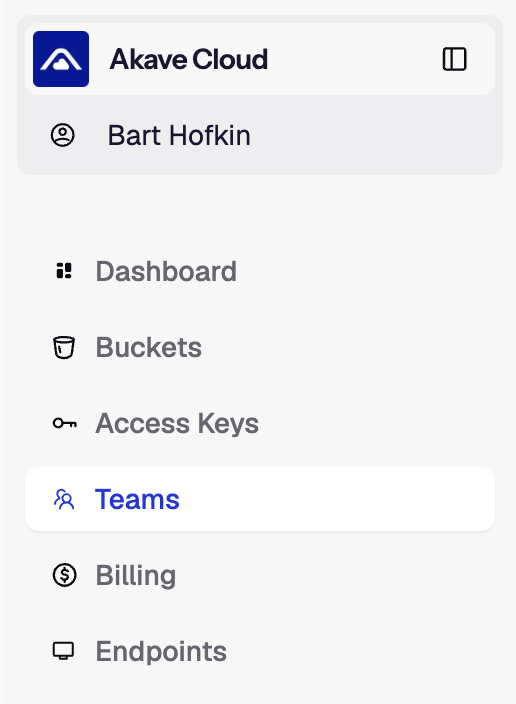
Teams is located in the left sidebar of Akave Cloud.
Prerequisites
- Akave Cloud account
- Sign in to Akave Cloud.
- Admin role
- Creating teams, adding or removing members, and changing roles requires the Admin role on that team.
Key Concepts
The Active Team
At any time, exactly one team is your active team. The active team decides what the rest of Akave Cloud shows you:
- Buckets & files you can browse and manage
- Access keys (credentials) you can view and create
- Usage & dashboard figures
- Billing context
When you switch teams, Akave Cloud refreshes to show that team’s data.
You always have a personal Default workspace to fall back on if you don’t have (or haven’t selected) a team.
Roles
There are two roles on a team:
| Role | What they can do |
|---|---|
| Admin | Everything a Member can do, plus create access keys, invite members, set members’ roles, and remove members. |
| Member | Belongs to the team and can use its buckets, data, and the access keys created by Admins — but cannot create access keys or manage membership. |
The main difference between the two roles is access keys: Admins create them, and Members can only use the ones Admins have created.
The person who creates a team is automatically its Admin.
Owner (Billing)
Ownership is separate from roles. The account that created and pays for a team is its owner. Only the owner sees billing details (costs, payment methods, invoices) for that team. Other members see a notice that billing is available to the team owner.
Common Tasks
Create a Team
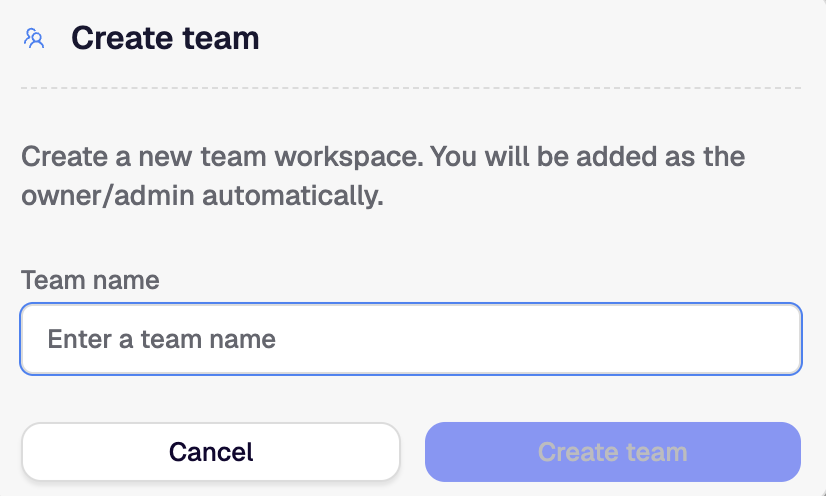
- Go to Teams in the sidebar.
- Click Create team (or Create your first team if you do not have any yet).
- Enter a Team name and confirm.
You are added as the team’s Admin automatically, and the team becomes available in your Teams list.
Switch the Active Team
You can switch teams two ways:
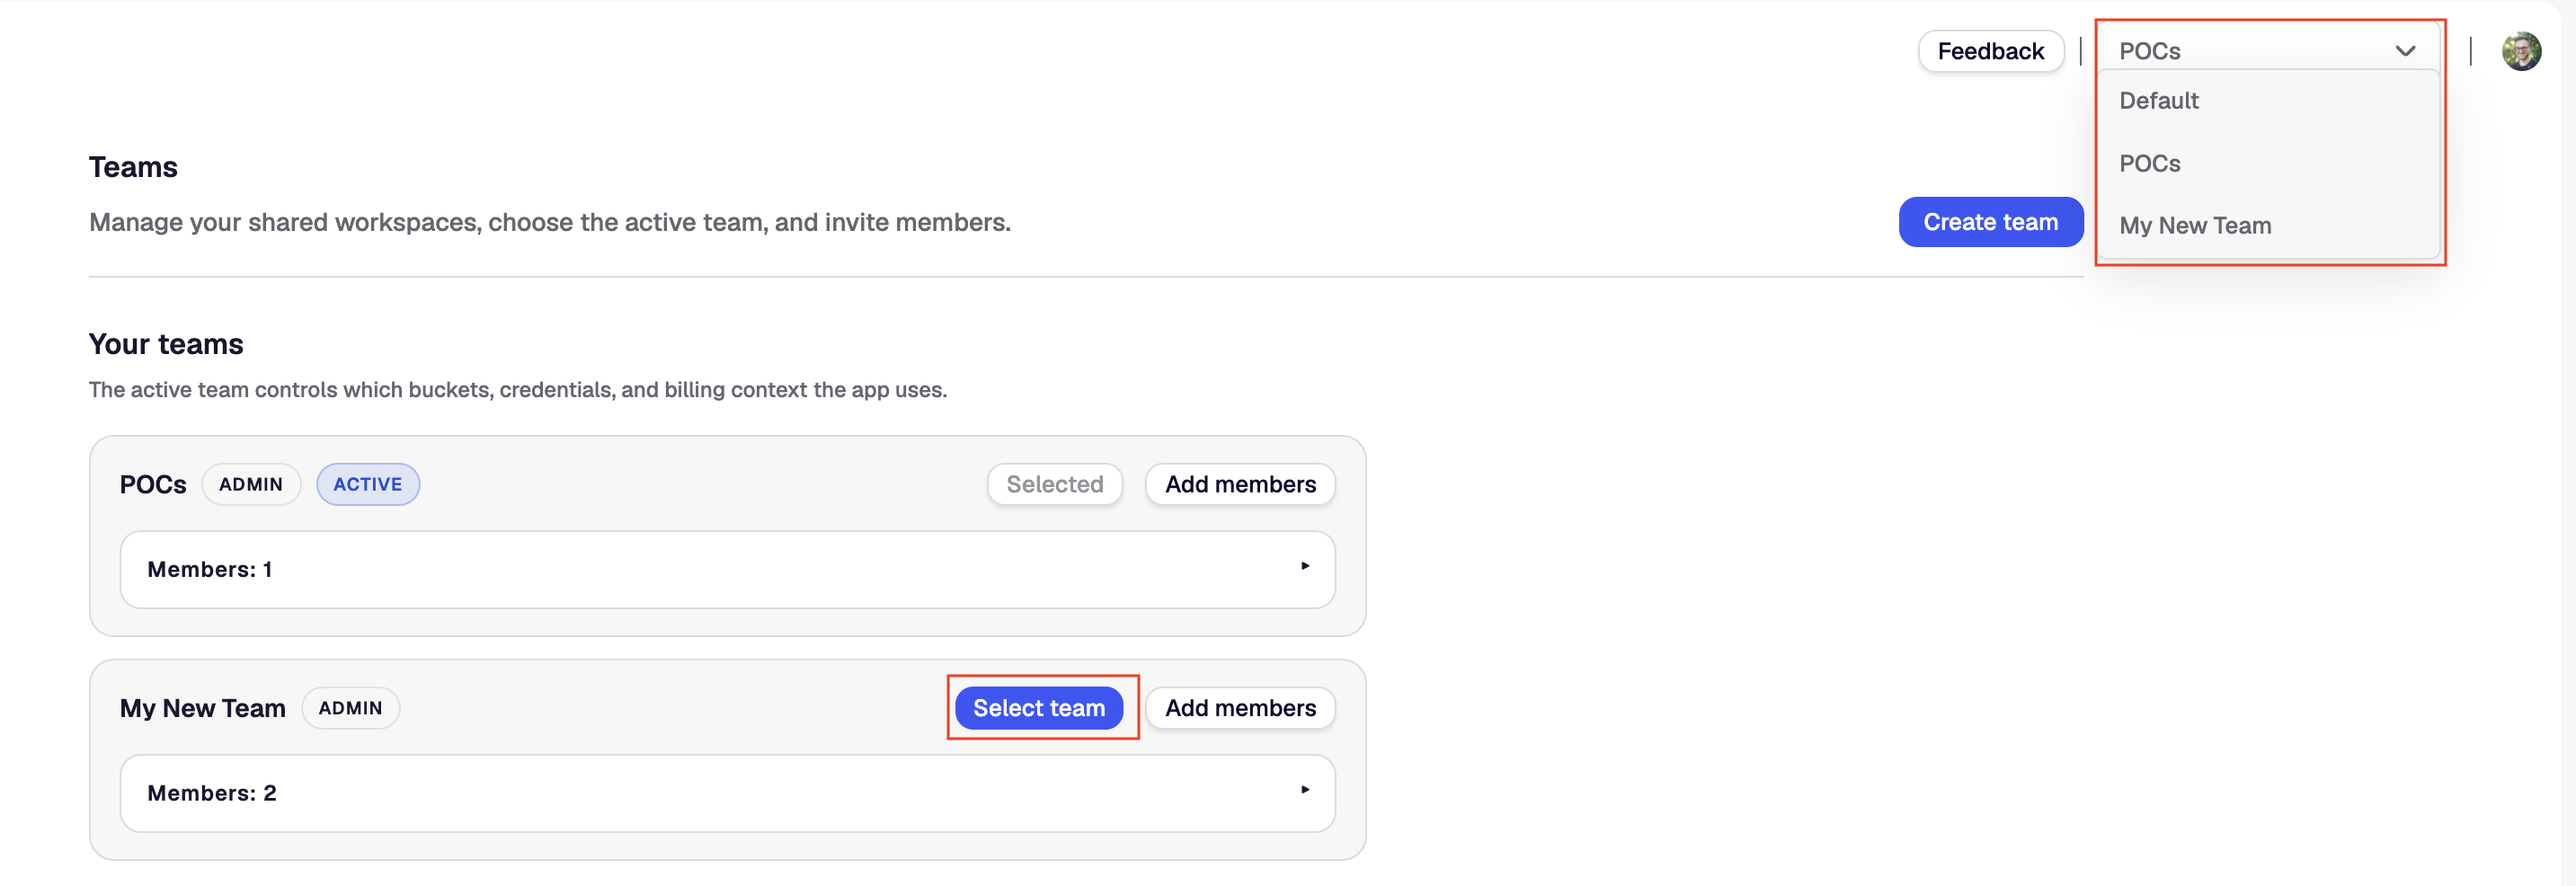
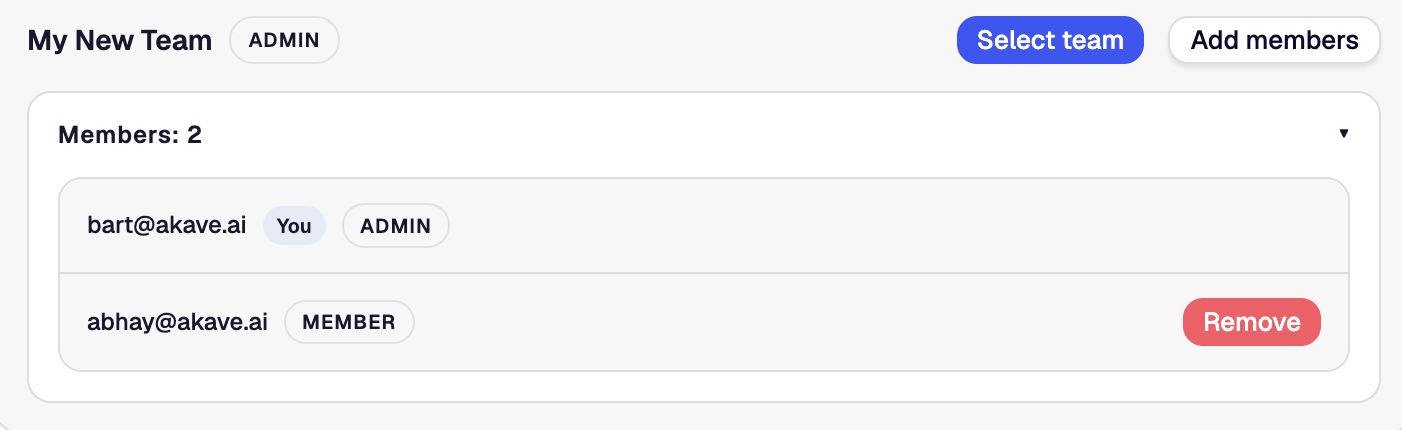
- On the Teams page, click Select team on any team card. The active team shows a Selected button and an Active badge.
- Use the team switcher in the top bar (shown once you have more than one workspace).
Switching updates the buckets, access keys, usage, and billing shown across Akave Cloud.
Add Members
Admins only.
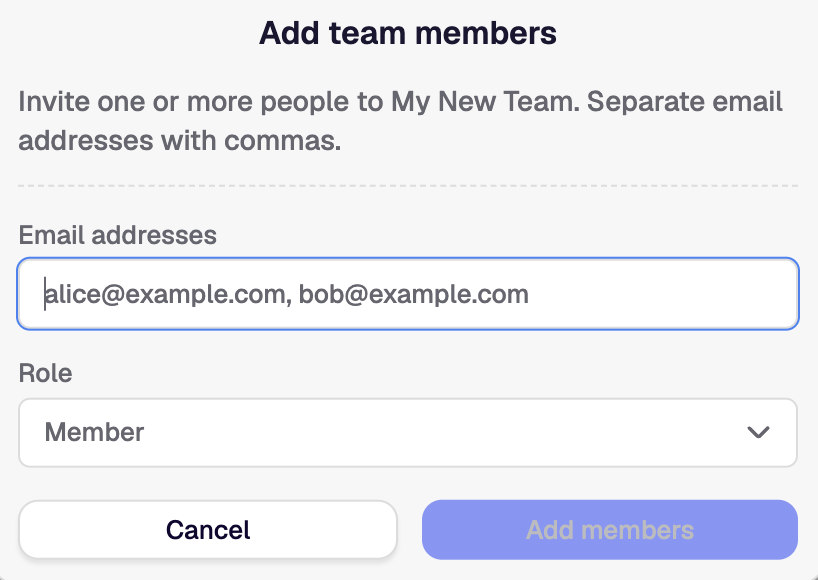
- On the Teams page, find the team and click Add members.
- Enter one or more email addresses, separated by commas.
- Choose a Role — Member or Admin.
- Click Add members.
Change a Member’s Role
To change a member’s role, add them again with the new role selected. Their existing membership is updated.
Remove a Member
Admins only.
- On a team card, expand Members: N.
- Click Remove next to the person you want to remove.
You cannot remove yourself.
View Members
Expand the Members: N section on any team card to see each member’s email, their role, and a You tag next to your own entry.
Billing and Access Notes
Not Yet Available
The following actions are not available in Akave Cloud today:
- Deleting a team
- Leaving a team
- Renaming a team
- Email notifications for team invitations